Checking In Clients
Group Class/Social Dance Check In Screen
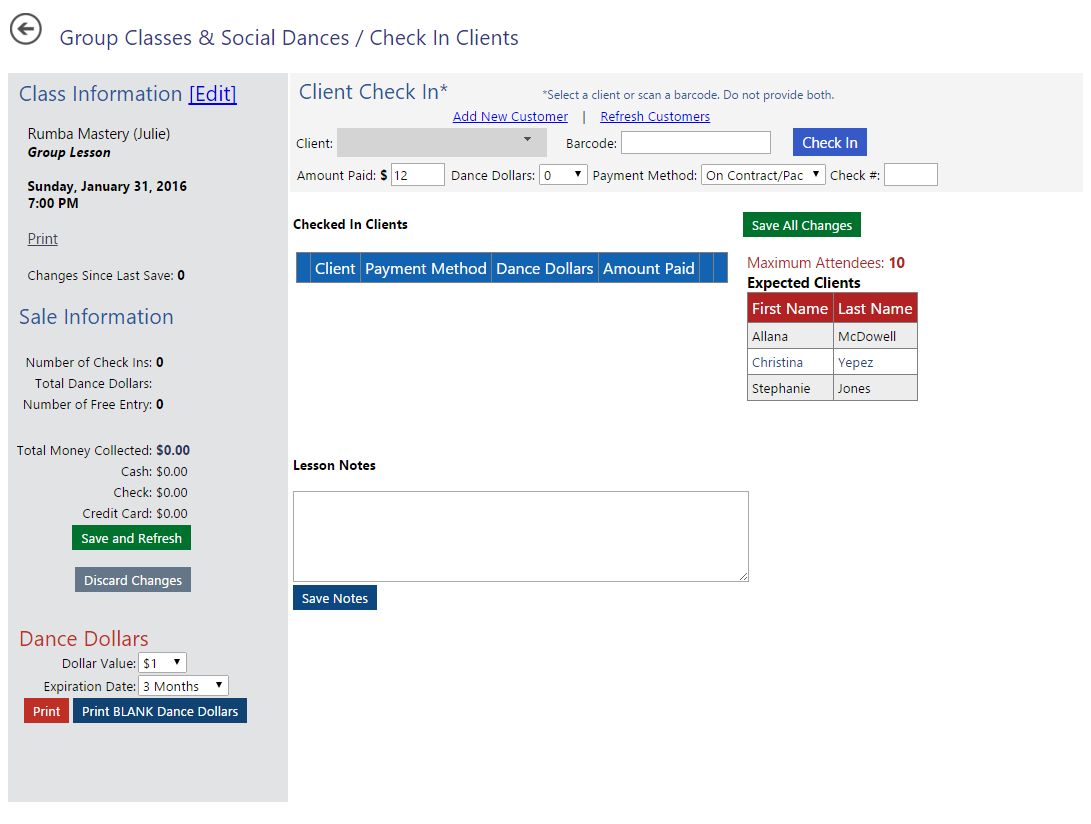
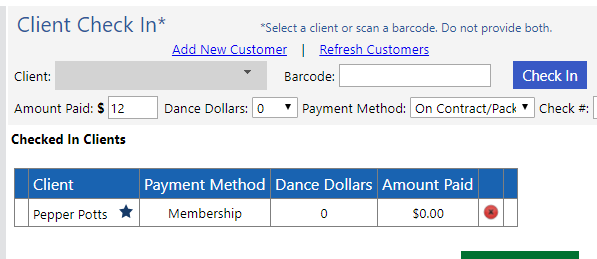
Above is the check in screen. By default, the cursor is in the “Barcode” box. This allows you to scan barcodes and asynchronously check in clients. The default amount paid is configured under “Options” as previously discussed.
The grid on the right hand side with the read header is the Master Group Class roster, if selected/applied to this group class. This is where you’ll see the maximum number of attendees and the list of expected attendees that you can utilize to cross reference between who has checked in.
When checking in a client, scan the barcode or select them from the list. Enter the amount paid (\$0 for “On Contract/Package”), dance dollars, payment method, and check number. Press “Check In”.
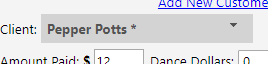
NOTE: Active Members have a “*” following their name in the “Client” drop down menu.

When the system is in the process of checking in a client, the LEFT most box which contains no text will be PINK.
When a change is made, the box will also be PINK, indicating the change has not been saved.
Contract/Package/Intro Packages with Group Classes and Social Dances
When checking in a client a group class or social dance, an authorization is “redeemed” upon check in. If no authorizations exist, an error similar to the one shown below will appear and further check ins will be halted.
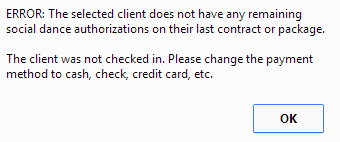
If you are modifying a client from a monetary payment method to a contract/package redemption, this check is also enforced. An example error message is shown below.

Membership Check In with Group Classes and Social Dances
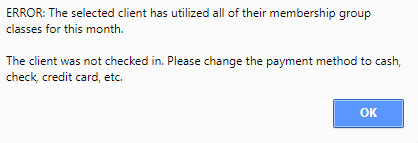
To check in a member to a group class or social dance, select the “Membership” payment method. If the client has utilized all of their membership group classes or social dances, an error will be displayed similar to the one below.
When a member is successfully checked in, you will see the payment method of “Membership”, as well as star icon by their name.
Adding Customers on the Fly
To add a new customer on the fly, press the “Add New Customer” link shown in the check in section. The add client dialog will appear. Press “Done” when finished.
Once you are finished adding clients, it is imperative that you press “Refresh Customers”!

Editing a Class Information from the Check In Screen
To edit a specific group class/social dance from the check in screen, click “Edit” next to Class Information.
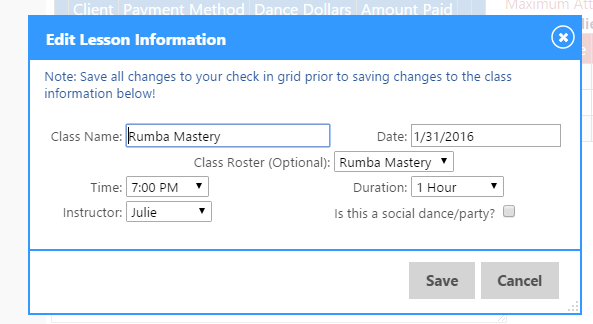
A dialog similar to the one above titled “Edit Lesson Information” will appear. When you have completed changes, press “Save” and the screen will reload.
Modifying Check In Information
Payment methods, dance dollars, and amount paid can be changed by clicking on the corresponding cell within the table. An example is shown below.

To save the changes, press “Save All Changes” or “Save and Refresh”. When the changes are saved, the PINK cell to the left will turn green as shown below.

To delete a check in, press the red “X”.