New Contract/Packages
Creating a New Contract/Package
- First, select “Contract/Packages” then “New Contract/Package” in the navigation bar.
-
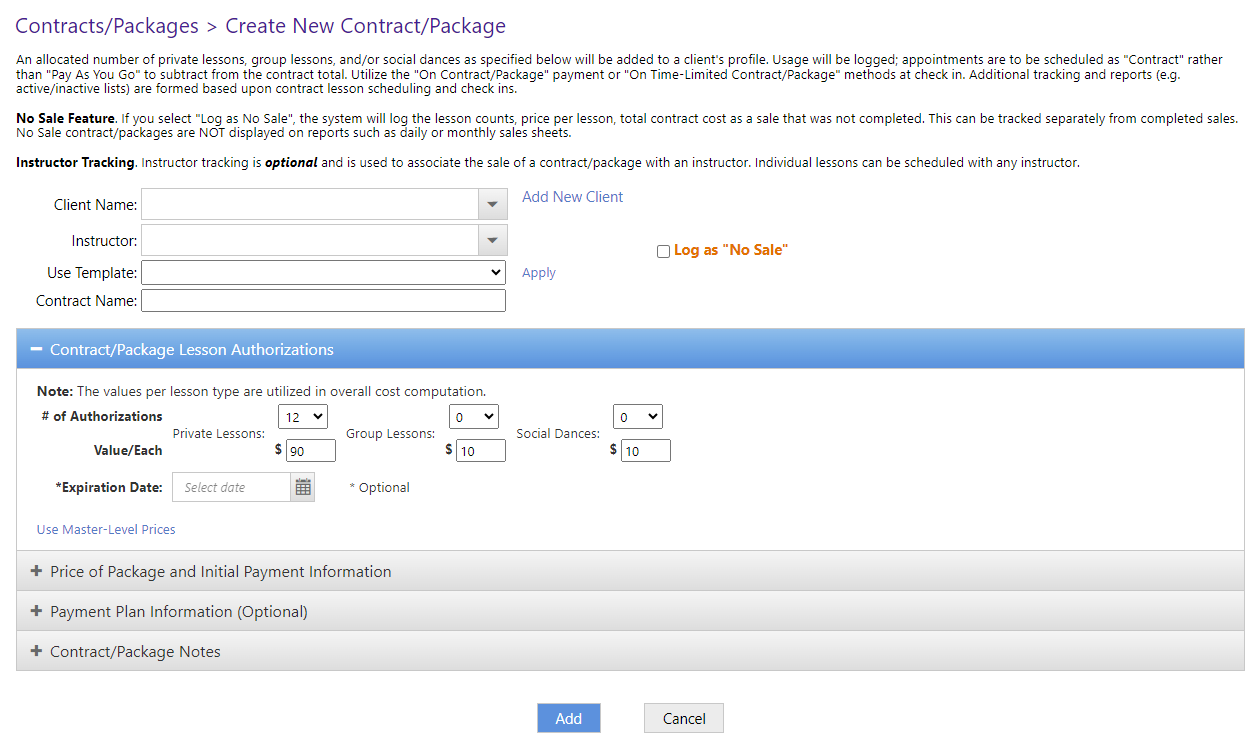
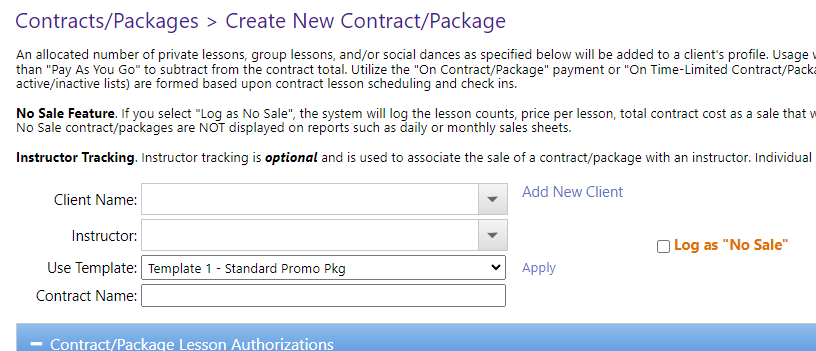
A screen similar to the one below will appear.
-
In the client name drop down menu, select or type the name of the client you wish to create a package for.
-
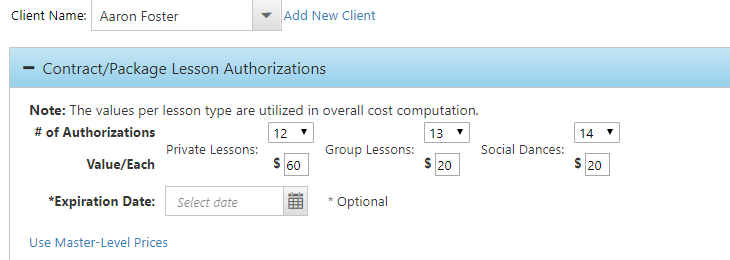
In the “Lesson Authorizations” section, provide the number of private lessons, group lessons, and social dances the client receives with their new package. If they already have existing authorizations from another package or credit, those will remain unaffected. Include the value, or toggle to master level pricing, for each type of authorization to compute the cost of the contract/package.
- Optionally, provide an expiration date. Note that you CAN NOT add or remove an expiration date after initial contract/package creation. You can modify expiration dates.
-
Next, move to the price of package and initial payment information. Select the date of sale (this will be marked to that day’s sales), select the payment method, and any other pertinent information. A screen shot is below. If the client is paying for the package in full, enter the contract price they are paying and the amount paid in the corresponding text boxes. Otherwise, enter the amount they are paying today.

-
If the client is paid in full, you can scroll down and enter notes or scroll down and press “Add” to finish creating the package. Otherwise, continue on by clicking “Payment Plan Information”.
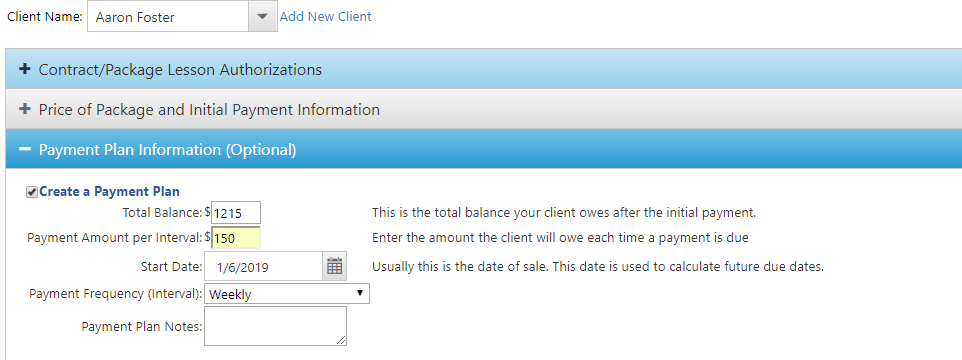
- If the client is setting up recurring payments, be sure to check the box “Create a Payment Plan” as shown below.
-
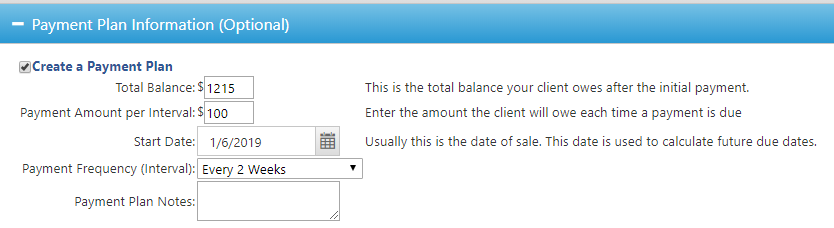
The total balance is automatically calculated based on information you put in the last section. Determine the payment amount per interval that you wish to set, pick the start date (often today’s date), and select their payment frequency. An example is shown below.
-
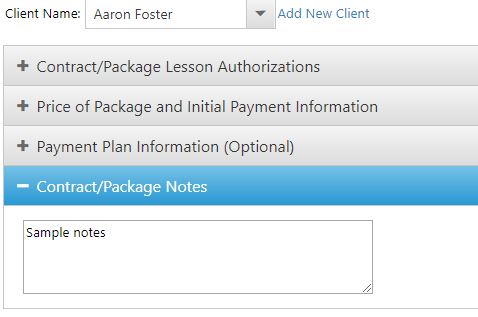
Optionally, add notes to the contract in the final section and press “Add” when complete.
-
Once complete, you will see the new contract/package appear in the active payment plans section if applicable and an increase (or creation) to a client’s lesson authorizations. Note: You may have to refresh the page.
Creating using a Template
To create a contract/package using a template, select the template from the “Use Template” drop down list as shown below. Press “Apply” when ready to utilize the template’s information. The template will apply the authorizations, value per each authorization, total contract value, and notes field.
Complete the form as normal and press “Add” when complete.
Logging “No Sale” Contract/Packages
To log a contract/package as a failed, or “no”, sale, check the box “Log as ‘No Sale’”. You will see a warning that the no sale mode is enabled. This allows you to complete the contract package, link it to an instructor and client, and record the sale did not complete. These “no sale” or “failed” sale attempts can be tracked and DO NOT impact sales sheets.
