Contract/Package Payment Plan Payments
Entering a Payment
- There is more than one way to access the payments screen for payment plans. The payments information is available in the “Payments Due”, “Future/Early Payments”, “Previous Payments”, and “All Active Payment Plans” tabs in the Contract/Package Payment Plan Manager as shown below. (Contract/Packages > Payment Plans in navigation bar)
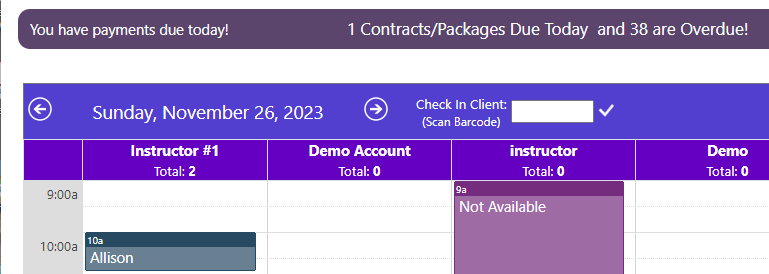
Alternatively, you can access the payment manager via the scheduling screen reminders (when they appear) as shown below.
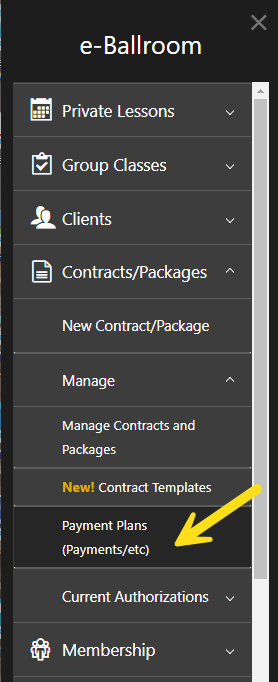
A third option is to select “Payment Plans” under Contract/Packages > Manage.
-
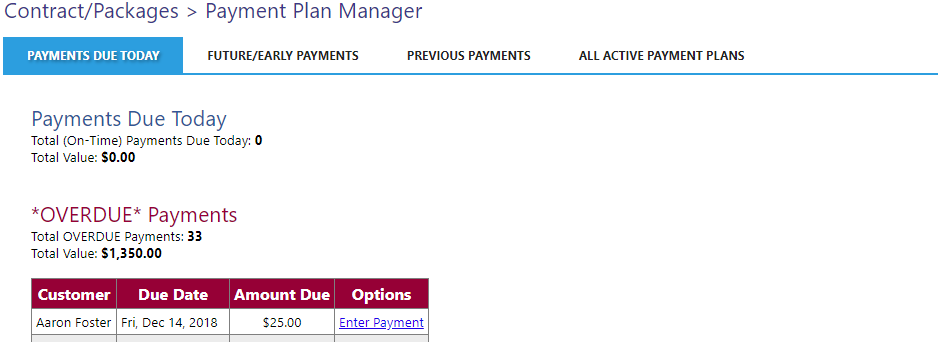
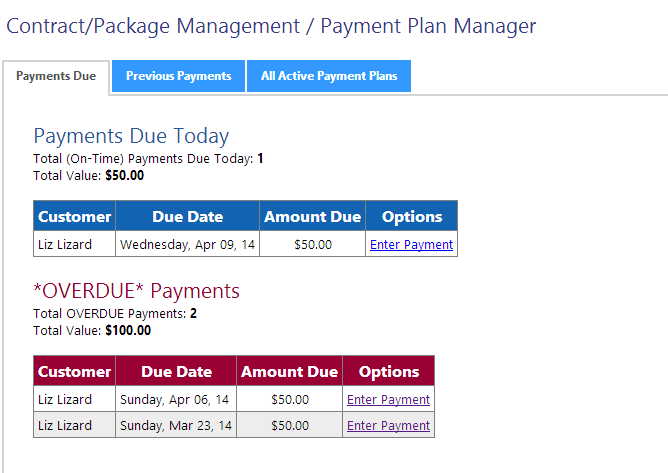
To enter a payment, navigate to the “Payments Due” screen. Payments that are marked as due today appear in blue and payments that have not been received for previous dates are shown in red and are defaulted as “Late”. (You can remove this flag later).
-
Press “Enter Payment” for the customer and payment date you wish to enter.
-
Below is the payment entry screen. Fill out the information as required and press “Save Payment” when done.
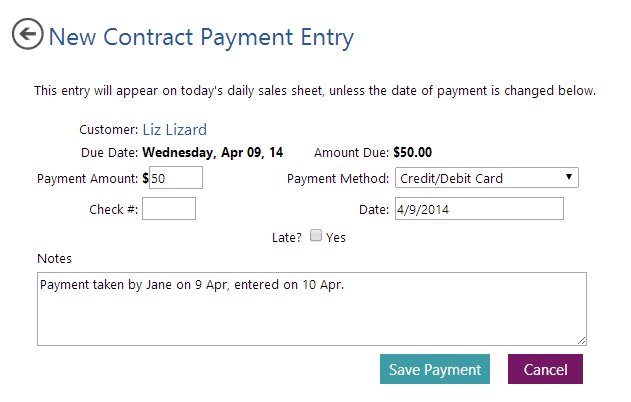
The payment will appear on the sales sheet for the date you provided on the form.
Edit Future Payments (Early Payment)
To edit a future payment, such as to change the due date or enter a payment early, click on the “Future/Early Payments” tab of Contract/Package Payment Plan Manager.

To edit a due date, press “Edit” next to the date of the future payment. To enter a payment, select “Enter Payment” for the applicable payment.
Editing or Removing a Previous Payment (Contract/Package Payment Plans)
- To edit a previous payment, go to the “Previous Payment” tab. Note: You may have to reload the payment manager if a payment is not appearing.
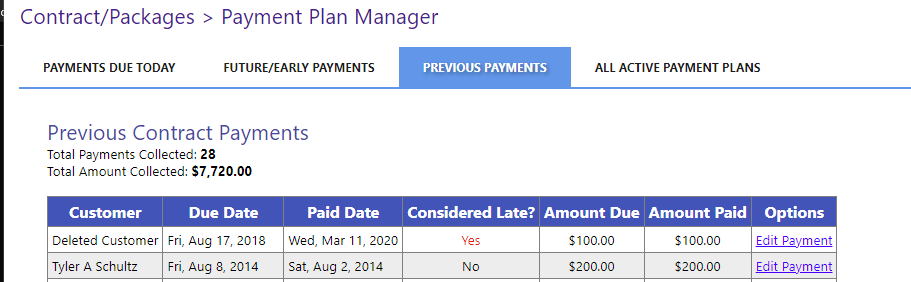
- From the grid, select the payment you wish to edit. Press the “Edit Payment” button.
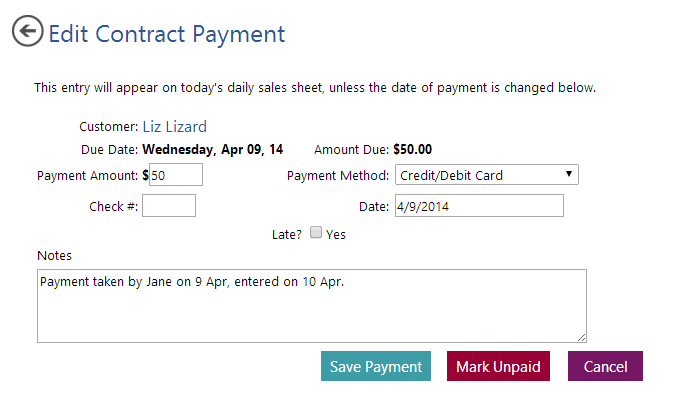
- A screen similar to the one below will appear. Edit the information as applicable and press “Save Payment”.
- If you wish to mark the payment as unpaid, for instance if it was marked as paid for the wrong client in error, press “Mark Unpaid”.
Viewing Current Payment Plan Status
To view how much has been paid to date for your open (incomplete) payment plans, select the “All Active Payment Plans” tab. A screen similar to the one below will appear.
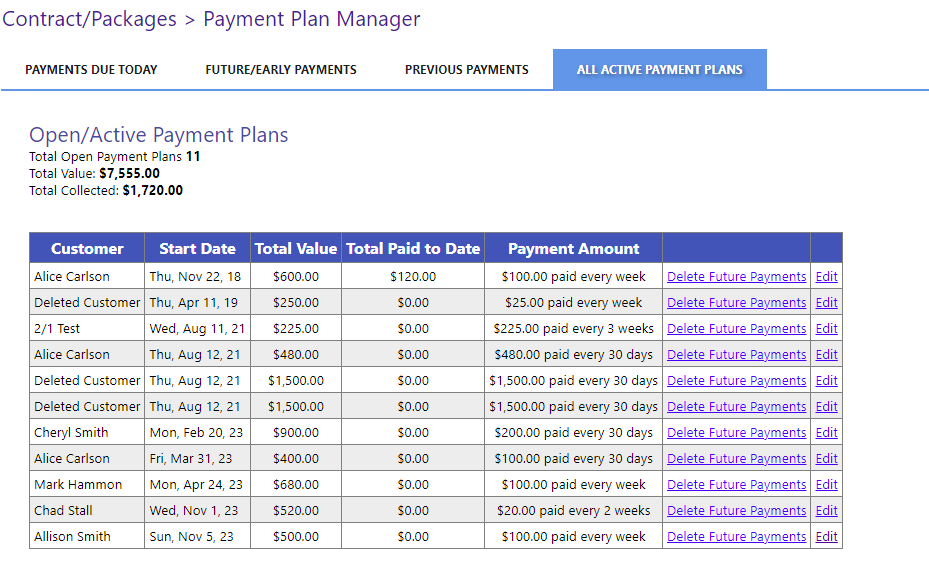
Modify Payment Plan
To modify a payment plan, such as to recalculate future payment amounts and due dates, select “Edit” from the corresponding plan.

Adjust the values, accounting for the total value versus the amount paid to date. Optionally check “re-calculate future payments” and press “Save changes”.
Deleting Future Payments
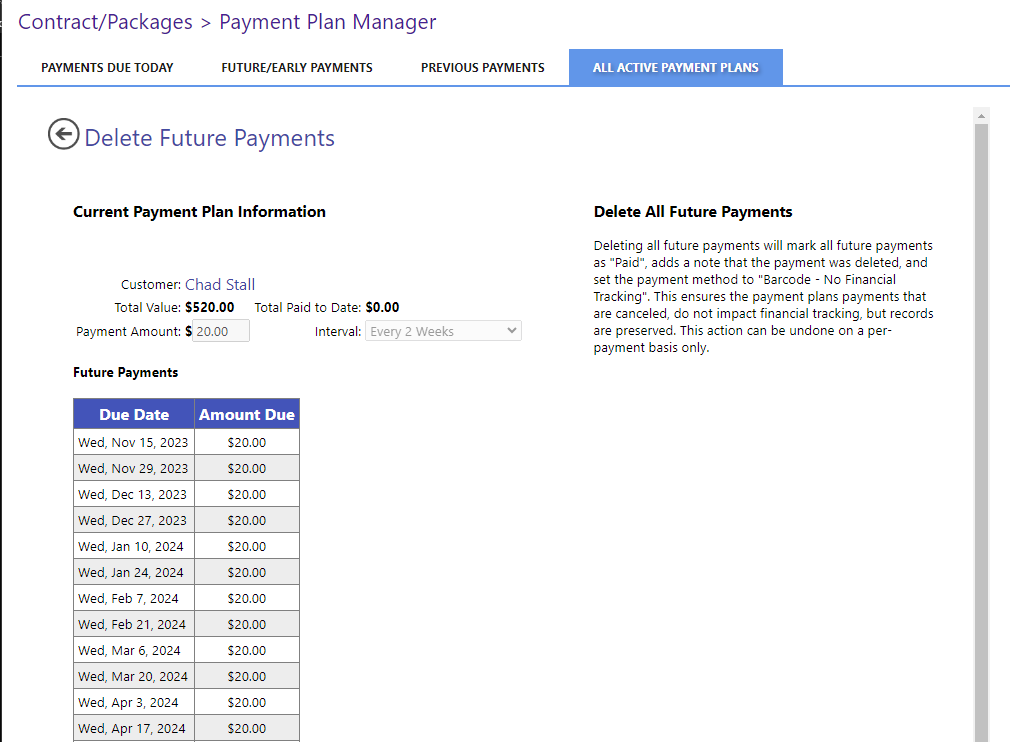
To delete all future payments, press the “Delete Future Payments” button on the payment plan. You will be presented with a summary of the total value, amount paid to date, payment amount, payment interval, and future payment due dates.
Deleting future payments cannot be undone in bulk. This marks future payments as “paid” in the system, adds a note that the payment was deleted, and sets the payment method to “Barcode – No Financial Tracking”. This ensures the future payments are removed, do not impact financial tracking, and can be individually undone if necessary.
This feature is useful for studios that allow customers to back out of a contract/package without a penalty requiring all future payments be made.